Memories deserve durable forms. Photographs capture a moment; craftsmanship preserves it. When you turn your photo into diamond painting, a digital image becomes tangible art. Moreover, the process honors the subject with time, attention, and skilled placement. Consequently, the finished work carries emotional depth and visual presence.
What Is Custom Diamond Painting?
Custom 5D Diamond Painting converts a personal photograph into a coded canvas. Each printed symbol corresponds to a colored resin drill. As you turn your photo into diamond painting, you place drills according to the guide. Therefore, pixels transform into facets, and light animates the image. The method blends accuracy with meditative repetition, creating clarity and brilliance.
Why Turn Your Photo into Diamond Painting?
-First, personalization distinguishes the artwork. You choose the subject, scale, and finish. Thus, you turn your photo into a diamond painting that reflects your taste and story.
-Second, the project fosters mindfulness. The steady rhythm reduces distractions and invites focus. Subsequently, stress eases while the image advances.
-Third, the finished piece elevates interiors. The sparkle draws the eye without excess. When you turn your photo into diamond painting, the result functions as décor and keepsake.
-Finally, longevity matters. Properly displayed, the piece resists fading and wear. Therefore, the memory remains visible and dignified.
Selecting Photographs That Translate Well
Not every image converts with equal success. To make your photo as diamond art effectively, prioritize clarity and structure.
- Portraits: Choose sharp features, natural skin tones, and modest backgrounds. Faces should occupy a significant portion of the frame.
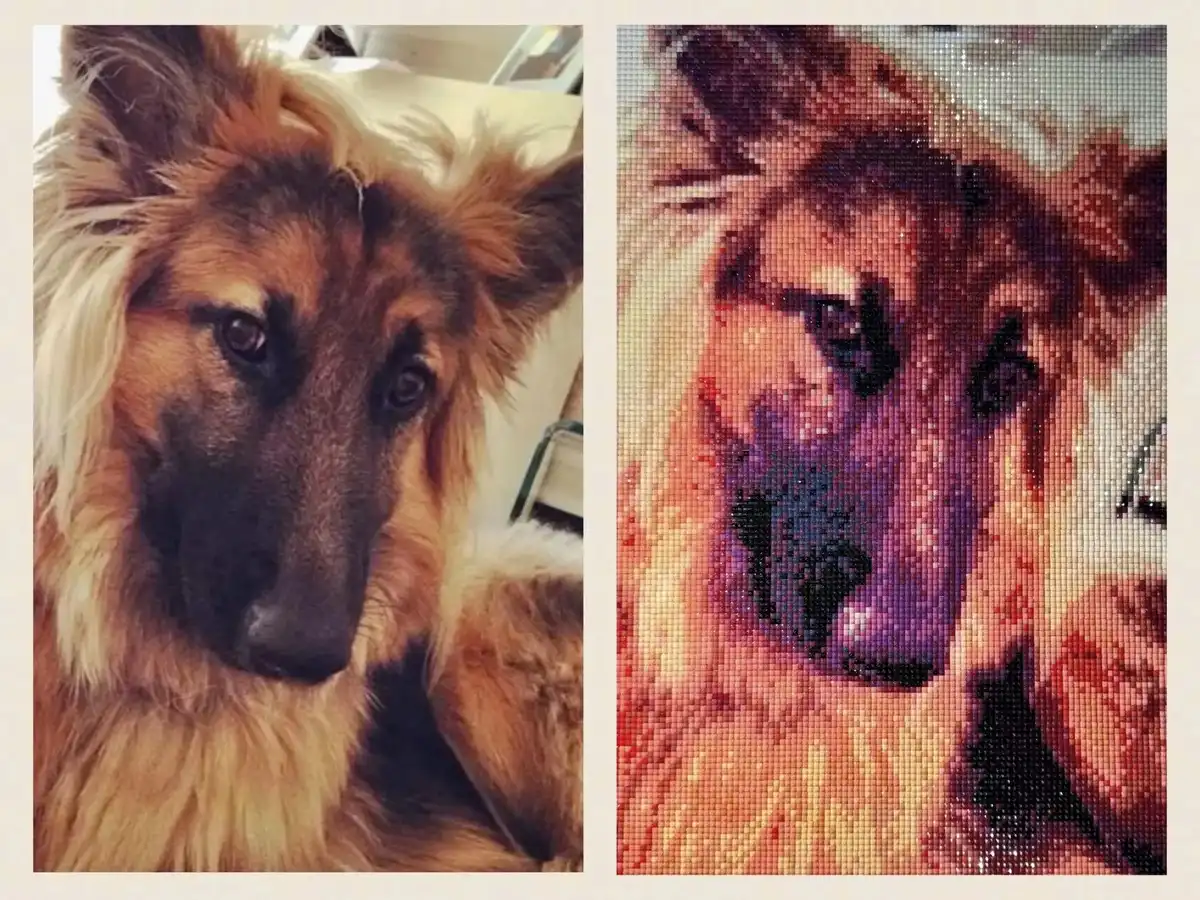
- Pets: Favor clean outlines, visible eyes, and even lighting. Fur texture benefits from adequate image size.
- Landscapes: Opt for strong shapes and defined horizons. Avoid scenes overloaded with tiny details.
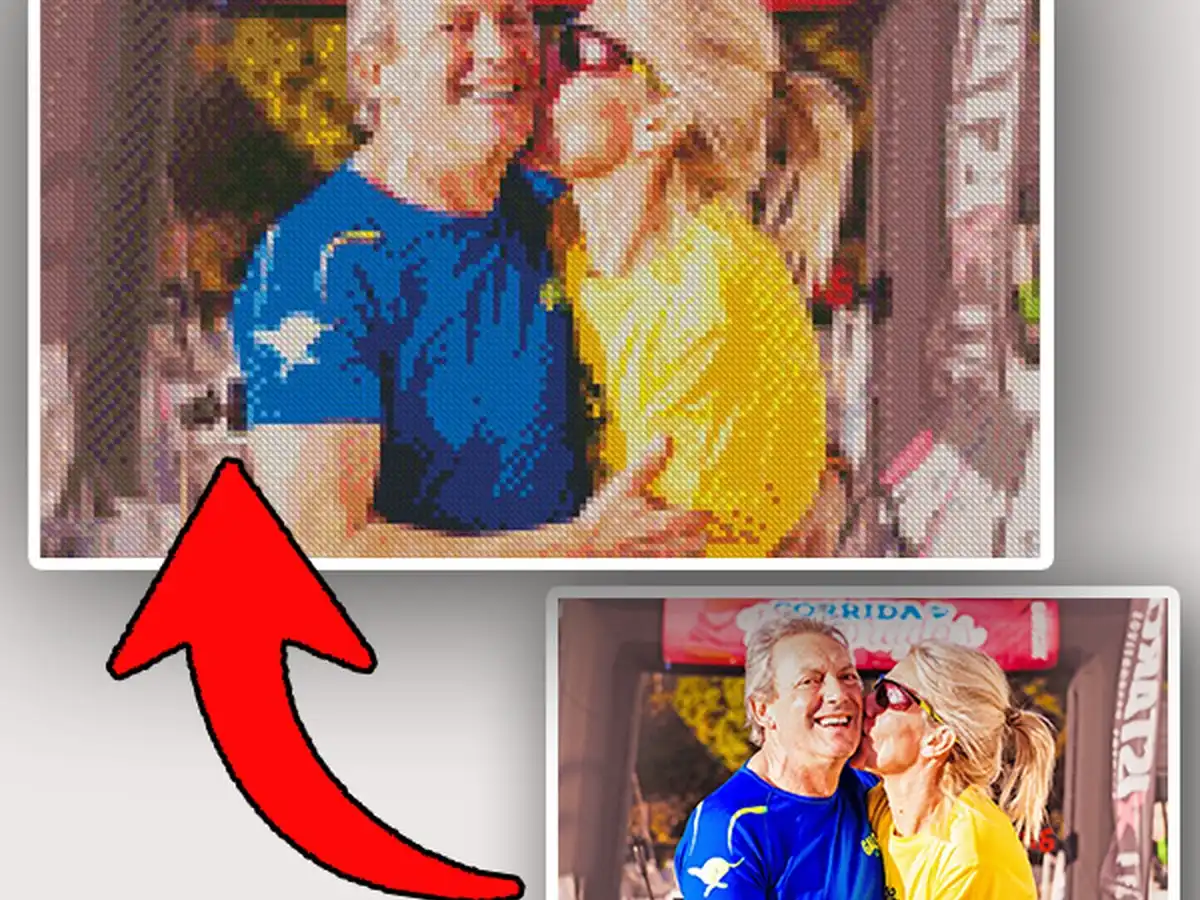
- Occasions: Focus on a single expressive moment rather than crowded group shots.
Additionally, avoid heavy filters that distort color. When you turn your photo into diamond painting, natural tones translate more faithfully. If needed, crop distractions and center the subject.
How the Process Works in Practice
The workflow follows clear steps. First, you upload the chosen photograph. Then a rendering tool maps pixels to a symbol chart. As you turn your photo into Diamond Painting, each symbol guides accurate placement.
Next, select a canvas size. Larger formats preserve gradients and facial detail. Conversely, smaller sizes suit graphic silhouettes. Moreover, choose between round and square drills. Round drills place quickly and create a soft look. Square drills interlock for crisp edges.
After approval, the kit arrives with canvas, drills, tray, pen, and wax. Therefore, you can begin immediately. Work in sections, from top to bottom or using a light pad. When you turn your photo into diamond painting, consistent methods ensure alignment and cleanliness.
Technical Criteria for an Excellent Result
Image quality drives outcomes. Begin with high resolution and good exposure. Consequently, details remain legible at the chosen size.
- Resolution: Aim for a clear original, not a compressed screenshot. This helps you turn your photo into diamond painting without blur.
- Lighting: Favor soft, even light. Harsh shadows reduce facial definition.
- Composition: Keep the subject central and uncluttered. Complex backgrounds dilute focus.
- Color balance: Natural hues outperform heavy edits. Skin tones should look lifelike.
- Scale: If eyes or whiskers appear tiny on proof previews, increase canvas size. Thus, you preserve character and nuance.
Additionally, request a proof when available. Reviewing the chart avoids surprises. Therefore, you turn your photo into diamond painting with confidence.
Avoiding Common Pitfalls: Turn Your Photo Into Diamond Painting
Several issues recur in custom conversions. However, each has a practical remedy.
- Overcrowded scenes: Crop tighter and isolate the subject before you turn your photo into diamond painting.
- Dim originals: Raise exposure slightly rather than pushing saturation.
- Tiny subjects: Increase size or choose a closer photograph.
- Color cast: Neutralize extreme warmth or coolness for accurate palettes.
- Workspace clutter: Label containers, close bags promptly, and clean trays regularly.
Furthermore, maintain consistent posture and lighting while working. Small disciplines prevent fatigue and misplaced colors.
Display and Care for Long-Term Preservation
Presentation completes the artwork. After you turn your photo into diamond painting, lightly roll the surface to seat drills. Optionally, apply a suitable sealer for added hold.
For framing, consider a mat to create visual breathing room. Glass protects from dust; however, avoid direct sunlight to preserve vibrancy. Additionally, dust the surface and frame periodically with a soft cloth. Consequently, the sparkle remains crisp, and edges stay neat.
If you prefer a contemporary look, stretch the canvas on bars. The method keeps lines clean and avoids glare. Either approach respects the effort invested when you turn your photo into diamond painting.
To transform your photo into diamond art is to elevate memory through patient craft. The process is deliberate, yet approachable. Moreover, the result carries presence, clarity, and light. With a suitable photograph, careful preparation, and thoughtful display, the piece will endure. Therefore, consider your most meaningful image, refine it, and begin. The finished work will speak quietly, and it will keep speaking for years.